I am, admittedly, nowhere near as dedicated as some of the other bloggers/miniaturists are about taking "in-progress" pictures. I down right suck at it. HAHA. So this post is to show you a few, or a bunch, of the steps that I did get documented while building Mt. Ollopa Lodge. There are a LOT of pictures, but I will walk you through them the best I can.
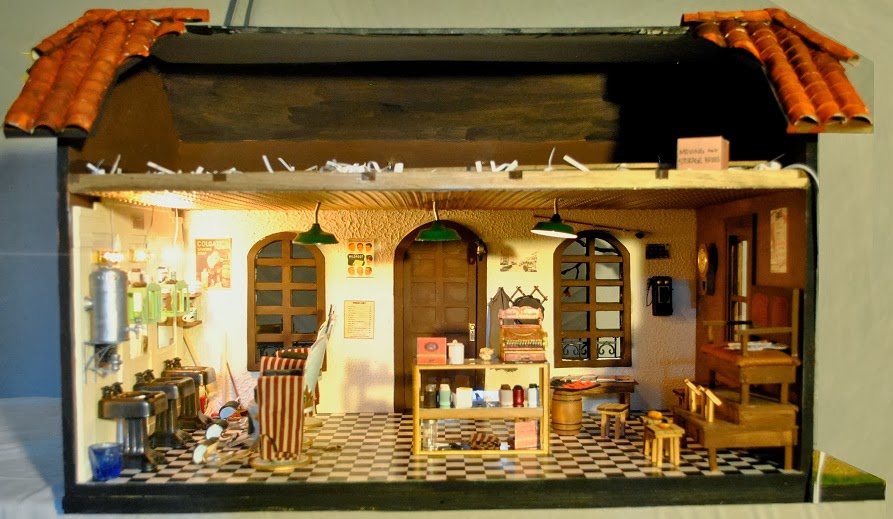
I'm really thrilled with how well I did in the contest, but as you can see, and many of you know first hand, it takes a lot of work to get from this:

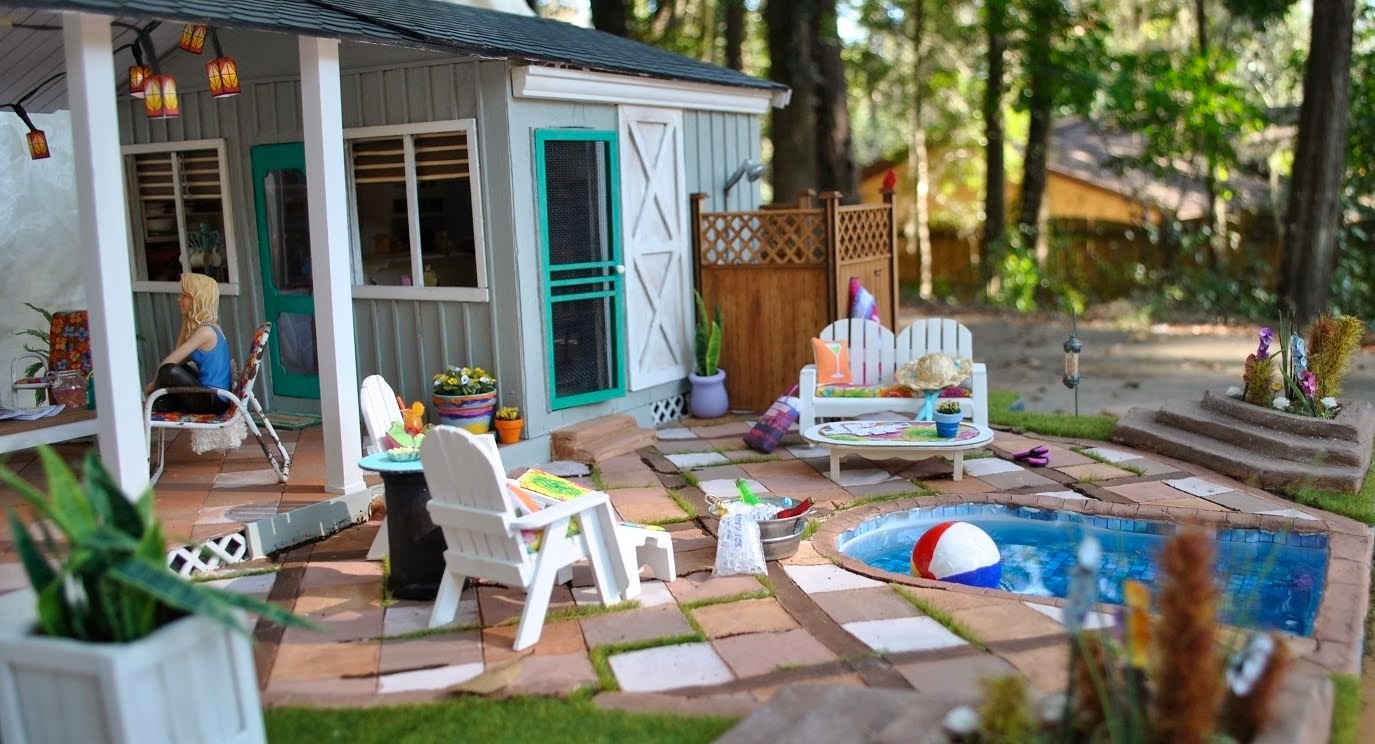
To this:

~~~~~~~~~~~~~~~~~~~~~~~~~~~~~~~~~~~~~~~~~~~~~~~~~~~~~~~~~~~~~~~~~~~~~


I had shared the hall tree earlier in the year, when I built it, and I was so happy to put it in its home. It was a huge, even though small, accomplishment when I finished this room. I could see everything in the rest of the Lodge coming together just from this one finished section.

Here are some details that you didn't really get to see in the final shots. I made this fun little key holder for next to the door. Scrap wood and wire. The "nail" on the wall is just some dried glue that I dabbed silver and brown paint onto. Looks convincing!

This large plant is made from silk flower foliage and a candlestick holder makes the pot. I love the way copper pots look, so this is painted in Metallic Antique Copper by Americana.

Starting on the outside of the wall that would connect to the entry, and this is how I did all the sides of the house.... For this side, I had to build up a bit of a wall for the inside wall of the entry way. I used foam board, hoping the thickness would help the entry room "sit" better. I covered that little bit with the matching wallpaper, even though you can't really see it, I know it's there. The outside of each wall got a wash of paint, but no sealer or primer. If the MDF starts to affect the siding, that is fine with me. I like the idea of the house "aging" over the years. The siding is HBS's loose rustic clapboard siding, but I got mine from Brae. Swap rewards! I cut each one in half and then laid them diagonally on there and glued down, immediately. I left the edges uncut until they had dried, and then use an extremely sharp utility blade to saw them off. I used the edge of the kit wood as my guide.

After all the siding was on, I used Special Walnut by Minwax to stain it and the window frame was painted Asphaltum by Americana. Once it dried, I sort of just....


This build incorporated a lot of scratch built stuff. Partly, because exactly what I wanted was not available and partly because I be po'. :D Hard to spend money on my ME stuff, when I have two wee ones tugging at my pants asking for Skylanders and Avenger action figures. o.O One of the first scratch built things I conquered was the shower stall. I really wanted to have a walk in shower that was rustic. That meant stone, or slate. YEA VINYL TILES!!! So, from some patience, vinyl tile, foam board and cardboard, a bathroom star was born! I LOVE the little recessed soap holder I put in it! Too cute! I just carved out a hole in the foam core and filled it in with tile. I made sure to build up the edges and the lip that keeps water from spilling out onto the floor. In other pictures (the details post) you can see fun things like the water knobs- they are the tiny heads of chess queens, and a loofah made from tulle. If I were to make this shower again, I would make sure to cut the tiles on the edges a little long, remove the sticky heavy part and curl the vinyl over to be the rounded edge.


Another thing I had to build was the kitchen sink/bar area. This is hollow and non working, built from thin basswood and woodsies. I painted it Snow White by Americana, sealed it with a watered down gloss and used sample piece of yellow wallpaper as the counter top laminate. The sink kit is from HBS, although I painted the faucet and handles to look like oiled bronze. The bar piece is some of HBS's strip wood and it is stained in Maple by Folkart.

The cupboard and drawer handles are actually window pulls, and they are painted to look like oiled bronze, too... a detail that you cannot really see in the completed build, but still pretty.


I took a page out of my besties book and used egg carton to make the bricks for this fireplace. Sorry the picture is dark, some of these are from camera-on-the-fritz days. The main structure is styro foam...Before I put the bricks on, I dinged up the styro foam a bit so it would look like some bricks had come loose and shifted.

I used the same method that Brae uses to paint, seal and grout the bricks. Then I made sure to do a bunch of dingy washes in the firebox area so it would look used.

The mantle is some scrap basswood that I painted white, and sealed with satin varnish. You can see in the picture below that I also have light in there. I took apart a Dollar Tree flickering candle and used the battery and light to make my own flickering flame. :D You get two to a pack. Fire for $.50!

The sink is made out of thin walnut and some scrap wood. Faucet from HBS and the sink is polymer clay... that I actually forgot to bake! Shhhhhhhh!!!!!!

I made towels from a brand new washcloth and baskets from paper. I lined the bottom one with some fabric and later filled it with things like toilet paper, toiletries and a hair dryer.

We have now reached the REALLY fun part of this build! The landscaping! The stuff you see below is Great Stuff Gap Filling Foam. You can get it at the hardware store or at Walmart for $4-$6 a can. I thought I would be able to build up a hill with it, but that didn't work quite like I wanted it to, so I used this mess later.

The house is actually lifted up on "pillars" that I cut from a mailing tube. It sits on a layer of foam core and the whole think is glued together with Locktite. See on the left? The basket sitting on the weird stuff? That is a section of the Great Stuff that I used to make the back hill.

The walkway and under structure is carved out of builders foam. Not so convincing right now, eh?

Back when I built the birch tree, I stabbed it all over the place to decide where it would look best. It eventually ended up on the corner and the American Elm took it's place there up front.

Here is a closer look at the layering and carving:

And in case you were wondering how big it is, that picture from is an 8 x 10! The base of the build is 2' wide and 4' long!

This was my first time working with paper clay. I tried really hard to channel Tracy Topps!

And I pretty much just made it up as I went. Isn't that how it happens for most of us?

Adding the paint and the dirt and greenery was so much fun. I have never seen something come to life so quickly. It went from looking a hot mess to a total work of art in just a matter of minutes!

This area, I remembered to paint the pink foam, so it wouldn't show through!

The moss was great for covering the edges of the clay and any mistakes I made. The rocks you see down here were meticulously gathered by my children over every trip to the park. :)

I didn't ever plan on the whole retaining wall thing. In all actuality, that house was supposed to be surrounded by flowing hills and grass, and overgrowth... and there was supposed to be a tree with a tire swing and a fire pit and a picnic table and a car parked out front and aNd AND!!!! But, many times, as a miniaturist, you have to remember, that eventually, the house has to be able to... you know, MOVE! So I adjusted. And in came retaining walls.

This is a really good before and after here.

And then I had to figure out how to fill in the back side....and still make it look cohesive.... One of my favorite details on the outside is the water stain yuck on the wall from the gutter spout. :)

There are critters at Mt Ollopa!

Great Stuff comes back into play! I made the deck first, because I wanted to the overgrowth to look just like that. Overgrowth. So I built the deck using components from the Greenleaf Outdoor stair kit and some 3/8" square dowels. Then I filled in the empty cavern with Great Stuff! And then continued to make it up as I went. HAHAH.

I cut some of it back, designated areas that were "rock" and "dirt" and then started piling on the moss. This is reindeer moss that you can get at Michaels in about 4 different shades, for $7 a bag.

I continued to cover all areas with the moss, coffee grounds and rocks.

I really wanted a creek, or a pond, or a water feature, so I crammed this in there!

A great stuff rock and a whole bunch of moss. The broken tree is a stick that got jammed in there. I love it!

The flat, not so grown in area is where I ran out of moss, time and money. So I mowed the lawn a bit, mixed the trimmings together with sand and dirt and plant life and shook it onto a sticky section of poster board that was cut to size. Then I cursed tacky glue for not tacking when it was supposed to. I had to hold that thing in place for a very long time!!!! Later, I found some more moss and covered up the seams.

Here is a second look at the area that was so bizarre looking.... bunch of pink foam and great stuff. Quite the transformation, don't you think?

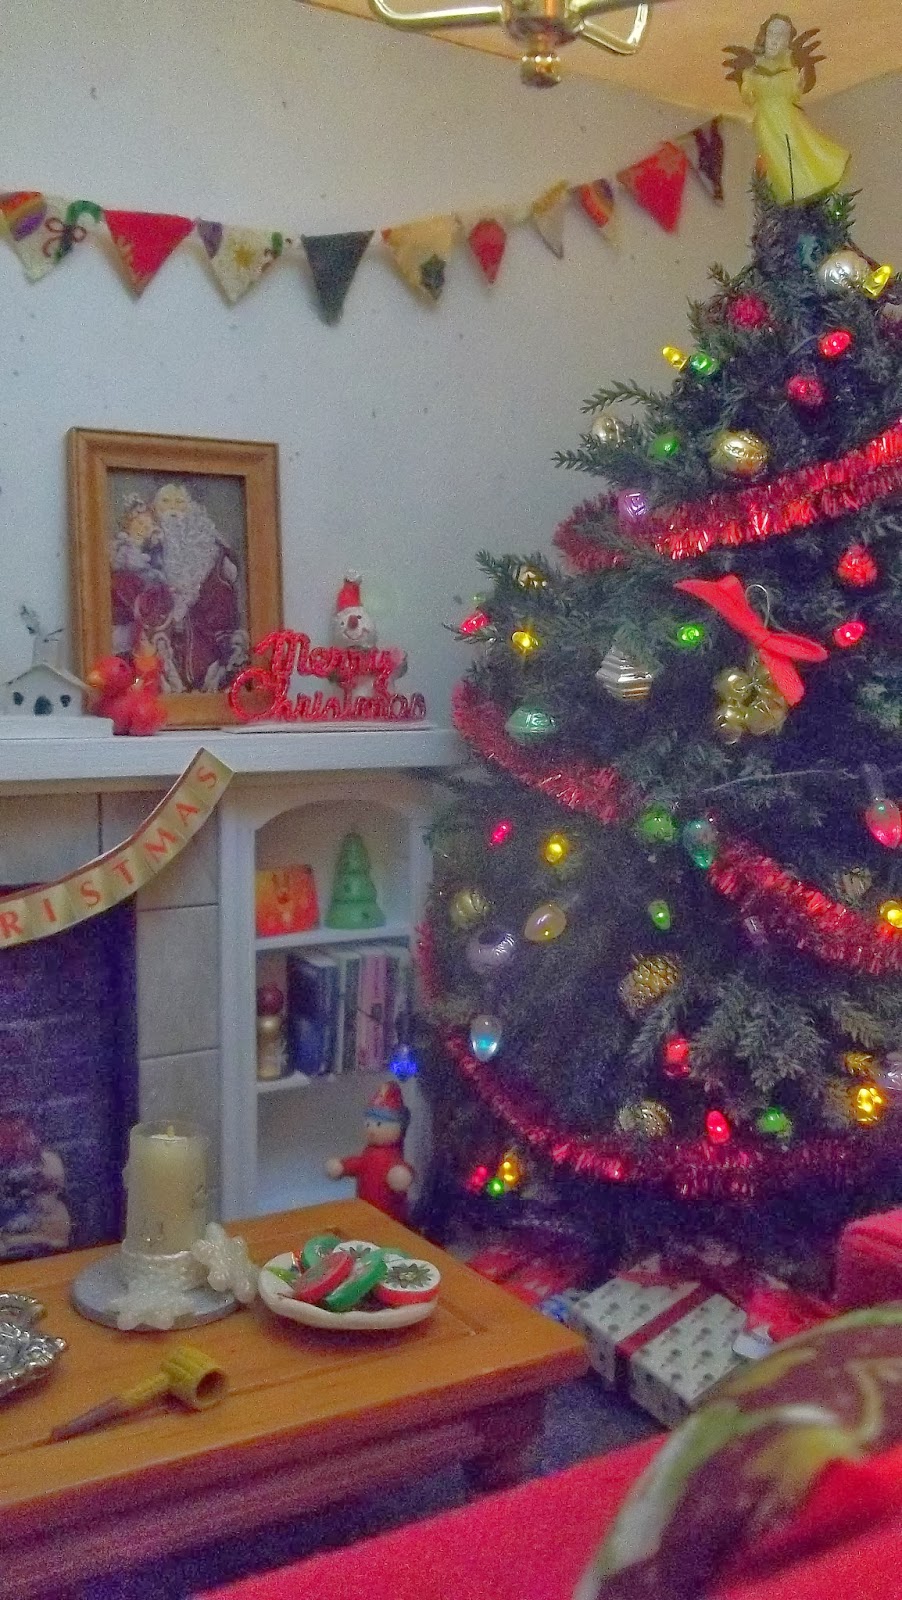
Inside shot with the lights on. Love it.

This is one of my favorite "in progress" shots, The lighting was perfect.

In the dark and only lights on! so fun!!!

These last three shots are test shots I did inside, and I just happened to like the details you could see in them.


The air vents on the roof cleverly hide the on switches for the lights!

I hope you enjoyed going back through the build with me. I am so thrilled to have been named the first prize winner for the 19th annual Creatin' Contest. :)
And, yes, I will be entering this year!